How to Prepare a Concrete Garage Floor for Epoxy
Preparation is a sequence of checks, not simply a roughening step. Concrete condition, product requirements, and moisture findings can change the plan or prevent coating until another problem is corrected.
Prepare concrete for epoxy by clearing and cleaning the garage, degreasing, diamond grinding, repairing suitable cracks and spalls, verifying moisture conditions, and applying the specified primer and coating layers. For a flake system, broadcast the flake, finish with the compatible topcoat, and allow the required cure before use.
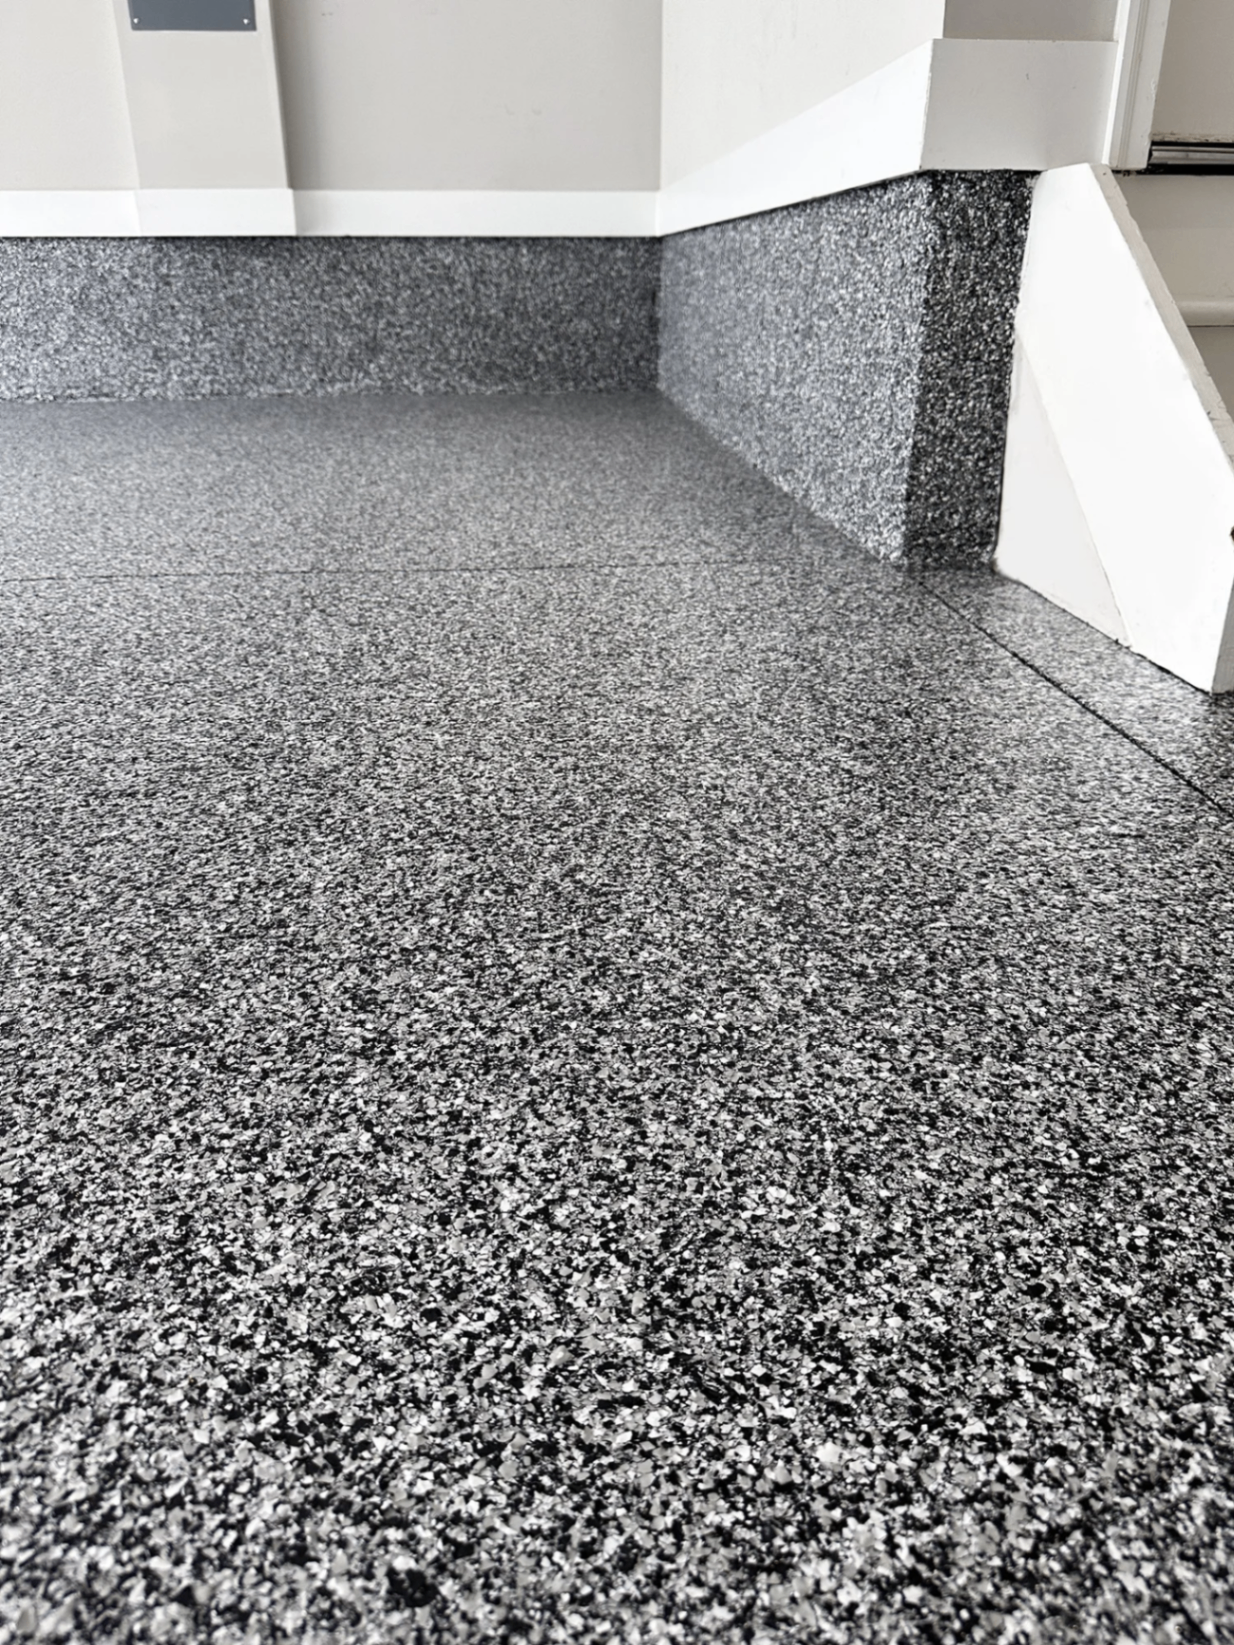
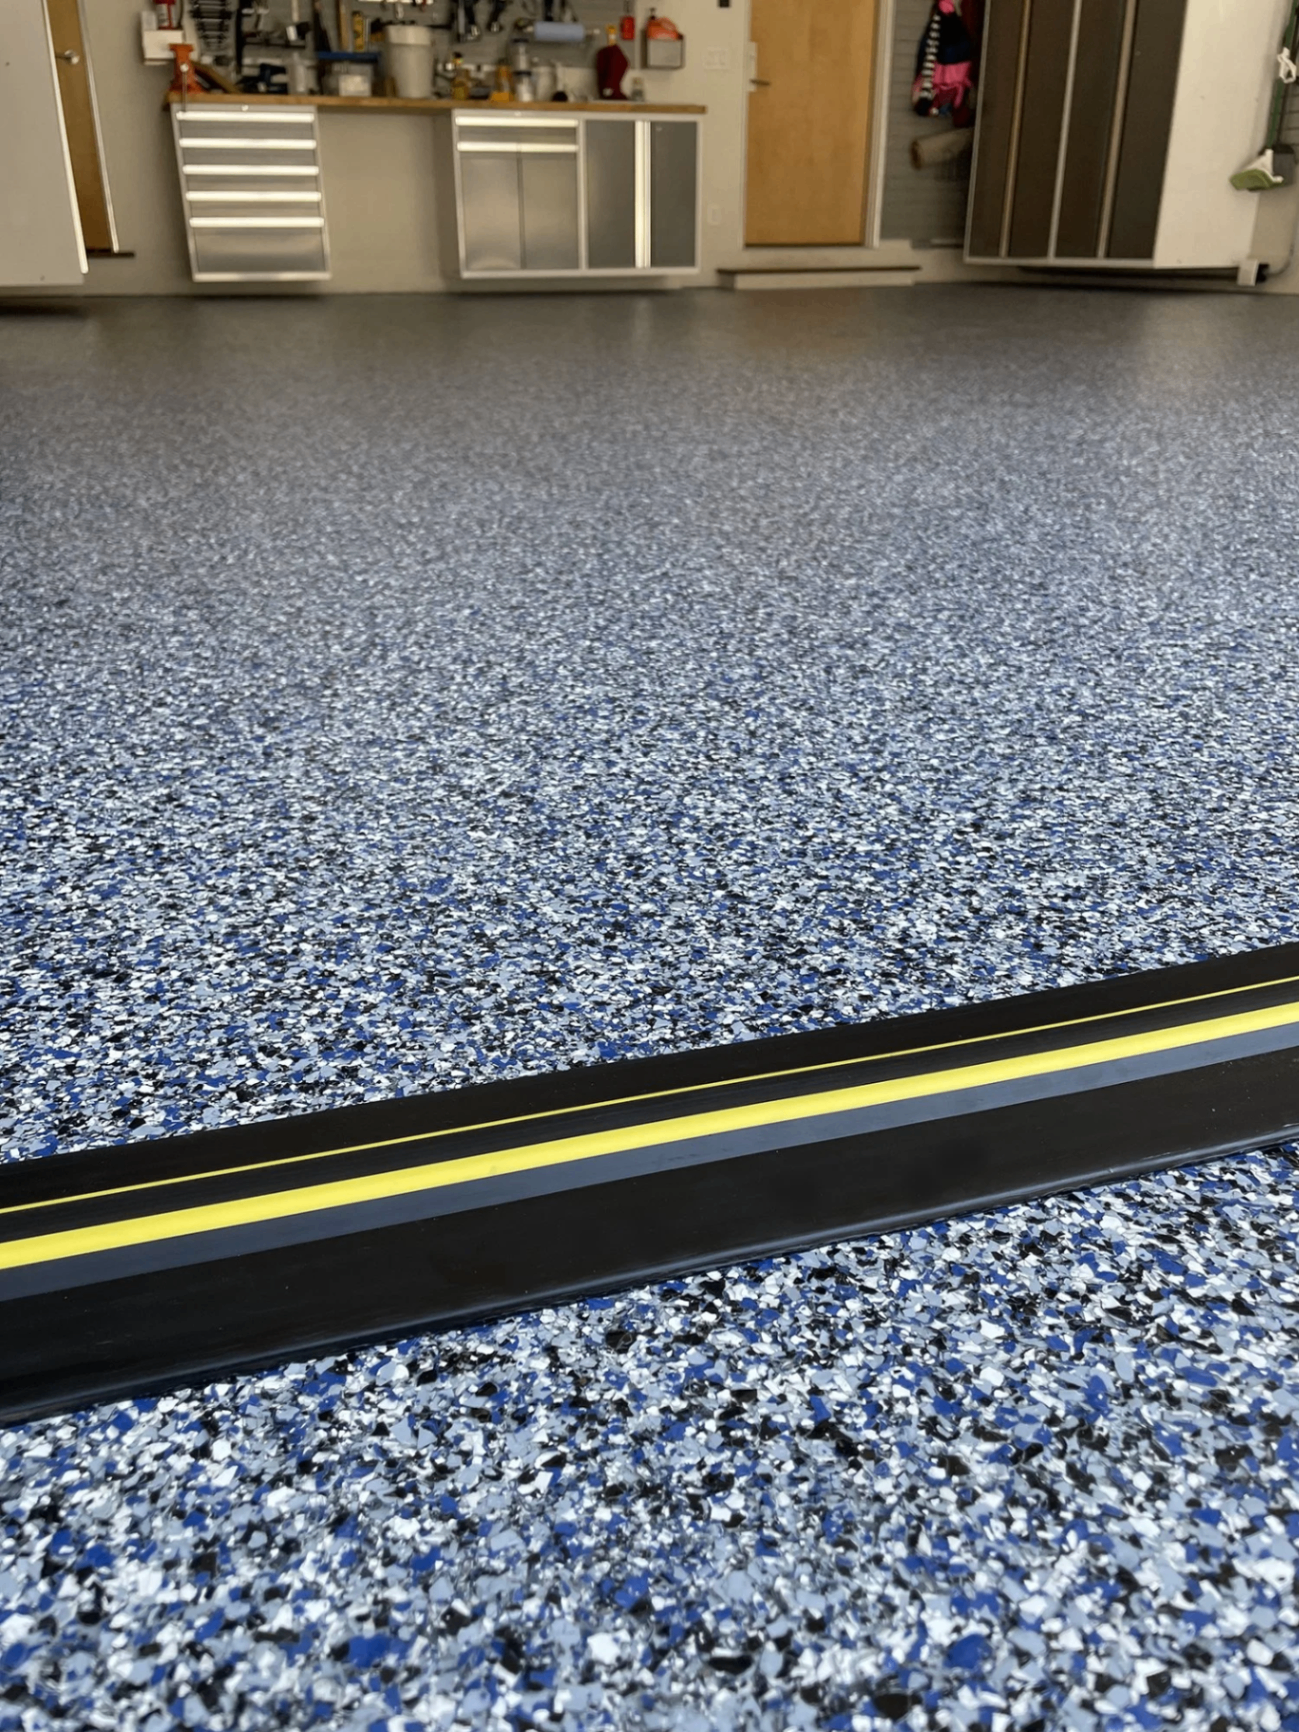
How do you start preparing a garage floor for epoxy?
Clear the garage so the slab, edges, and doorway can be inspected rather than coating around stored items. Sweep or vacuum loose dirt and identify oil stains, previous paint, sealers, cracks, and spalled areas. Note where rain enters, where snowmelt collects, and whether dampness appears without anything being spilled. These observations help distinguish a cleaning task from a concrete or water problem. Degrease contaminated areas before grinding so oily residue is not simply spread across a larger area. Use a suitable cleaner, follow its directions, and remove the resulting residue and wash water appropriately. Washing does not guarantee that oil soaked into the slab has been removed. Persistent contamination may require further removal, testing, or a decision not to coat the affected area. An initial moisture assessment should happen early enough to avoid preparing a floor that cannot accept the planned system. Final verification before coating remains necessary, especially after wet cleaning or changing weather. A clean-looking surface alone is not proof of readiness.
Why grind concrete before applying epoxy?
Diamond grinding removes unsuitable surface material and creates the profile required by the chosen coating. The goal is a uniform, sound surface, not just visible scratches. Tooling and technique need to suit the concrete hardness, previous finishes, and required profile. Edges and corners need compatible preparation too; an unprepared strip along a wall remains a potential weak point. A grinder should be connected to suitable dust extraction, and the work must account for respirable silica exposure. Dust control is not optional simply because a garage is empty. After grinding, remove fine residue thoroughly so primer contacts concrete rather than a layer of powder. If old paint or adhesive is present, determine whether hazardous-material precautions are needed before disturbing it. Acid etching is not an equivalent default for removing coatings, oily contamination, or weak concrete. It can react unevenly on dense or sealed areas and introduces water and chemical residue. Mechanical preparation still needs inspection because a pass with a machine does not automatically establish the correct profile everywhere.
When do cracks, spalling, and moisture get addressed?
After preparation exposes the surface, evaluate cracks and spalls and use compatible repair materials where the concrete is stable enough to repair. Loose edges should not be hidden under a thin film. Repair shape, depth, cure, and any required regrinding depend on the repair product and the damage. Moving joints and active cracks need appropriate detailing; filling everything rigidly can simply transfer movement into the finish. Moisture should then be verified against the limits for the actual primer and coating system before resin application. Screening tools can locate concerns, while specified quantitative testing may be needed for a coating decision. Recent washing, rainfall, and temperature changes can affect what is observed. A slab that looks dry at the surface can still transmit vapor from below. If findings exceed the system limits, stop and evaluate drainage, moisture control, or a different specification rather than assuming an extra coat will solve the problem. The prepared floor must also be clean and within temperature and condensation limits when priming begins.
| Preparation finding | Why it matters | Action before coating |
|---|---|---|
| Oil that returns after cleaning | Contamination can remain within the concrete and interfere with bonding. | Investigate and remove affected material as appropriate; do not assume primer will isolate it. |
| Loose concrete or spalling | The coating cannot be stronger than the surface supporting it. | Remove unsound areas and use compatible repairs on a suitable substrate. |
| Moisture above product limits | A standard coating may blister or lose adhesion. | Determine the source and choose an approved approach before proceeding. |
| Previously coated areas | A new layer may bond to an old finish that is itself poorly attached. | Assess compatibility and adhesion, and remove unsuitable material. |
- Clear and sweep the floor, inspect the exposed slab, and degrease contaminated areas. Remove cleaning residue and account for drying before evaluating final coating readiness.
- Diamond grind the floor and edges using appropriate dust collection. Remove weak material and unsuitable finishes, then vacuum thoroughly and inspect the profile.
- Patch suitable cracks and spalls, prepare cured repairs as required, and verify moisture conditions. Preserve necessary movement joints and resolve findings outside the proposed system limits.
- Prime, apply the epoxy coat, broadcast flake where specified, and apply the compatible topcoat after the required intermediate preparation. Keep the floor protected through the stated cure period.
What happens after the concrete is ready for coating?
Apply the specified primer to the prepared, acceptable slab, followed by the epoxy coat at its required coverage. For a decorative flake assembly, broadcast flake into the wet receiving coat while it remains workable. Once cured as directed, remove loose flake and prepare the broadcast surface before applying the compatible protective topcoat. Product instructions determine mixing, recoat windows, and whether additional preparation is needed between layers. Check conditions throughout the work rather than only at the beginning. Protect the curing surface from dust, water, pets, and unplanned traffic. Light foot traffic, moving storage back, and parking vehicles are separate stages of return to service. Use the written schedule for the installed system and actual conditions; a surface that is dry to the touch may still be too immature for tires or concentrated loads.
More questions
Can I skip grinding if the floor looks clean?
Appearance does not establish the profile or absence of sealer. The chosen epoxy system requires suitable preparation even on a clean-looking slab.
Should cracks be filled before coating?
Stable cracks and damaged areas often need compatible repair, but moving joints need different treatment. The repair sequence and preparation should follow the selected materials.
Is one moisture check enough?
An early check helps identify risk, but conditions should also be verified before coating. The test method and acceptance limits must suit the specified system.
Can I park as soon as the topcoat is dry?
No; surface dryness is not the same as vehicle service cure. Follow the written return-to-use instructions for the installed system and site conditions.
Still not sure what your floor needs?
Send us a few details or a photo of the slab. We will tell you honestly whether coating it is the right move.
Serving Central Massachusetts homeowners and businesses